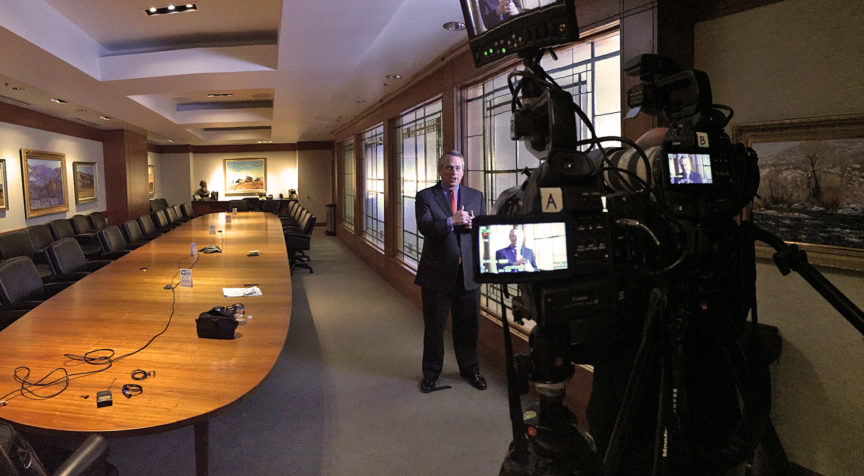
What do you do when your only key light is non-functional and you only have a few minutes to set up? You think fast.
I had a shoot a few months ago where we were interviewing the president of fairly large bank conglomerate. He was visiting the area and had very limited time to give us on camera. We had to wait around for a while to figure out if he would even agree to doing the interview that day, and we also had to wait to see where we would be able to shoot his interview. He had some doubts about doing the interview that day. For us, it was imperative that the interview happen. After convincing him that today would be a fine day for the interview, and then deciding on a spot do it, we started to set up. We had two 1×1 LED panels and a SkyLux + RapidBox soft light. Pulling out the equipment, I noticed the ballast for the SkyLux unit was not in the case where it should have been. *Assume nothing. Trust no one.*
Looking around the room, and without panic, Plan B had to be devised. There was a fancy line of frosted/etched glass windows on the wall separating the conference room from the hallway. I thought that could be used as my diffusion for one of my two 1×1 panels for the key. The other 1×1 panel could be used to illuminate as much of the hallway windows as possible with just the right angle. The only other option for additional light were the practical (tungsten!) lights in the the room. No, I did not have CTO for the 1×1 panels. So I just had to let the room lights go warm. Luckily they were on dimmers so I just brought them up enough to kill the blackness of the room.
No one questioned anything and there was never a problem. All things considered, I think it turned out alright and was, maybe, one of the most interesting setups of the entire project.
NOW FOR THE NITTY GRITTY:
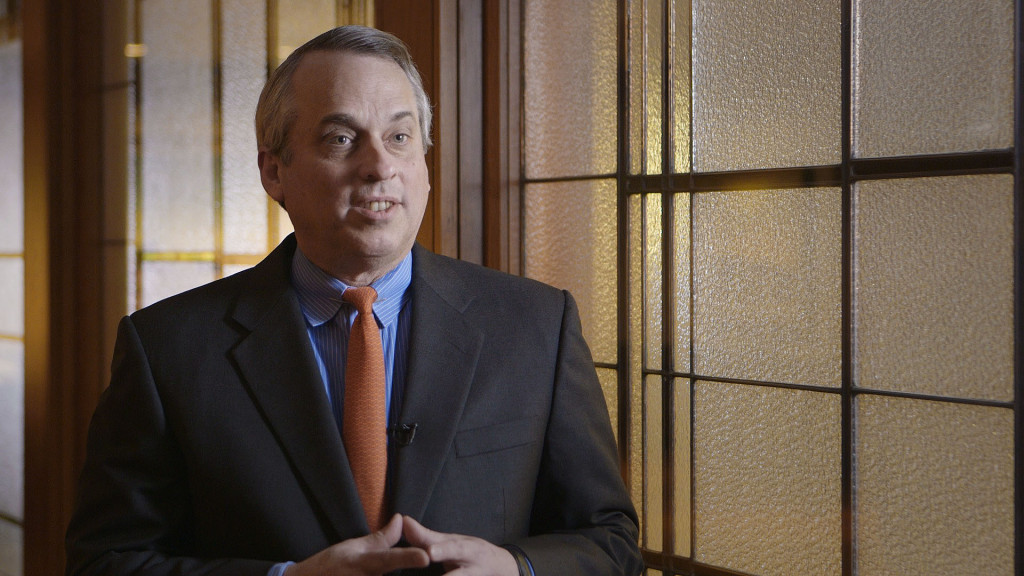
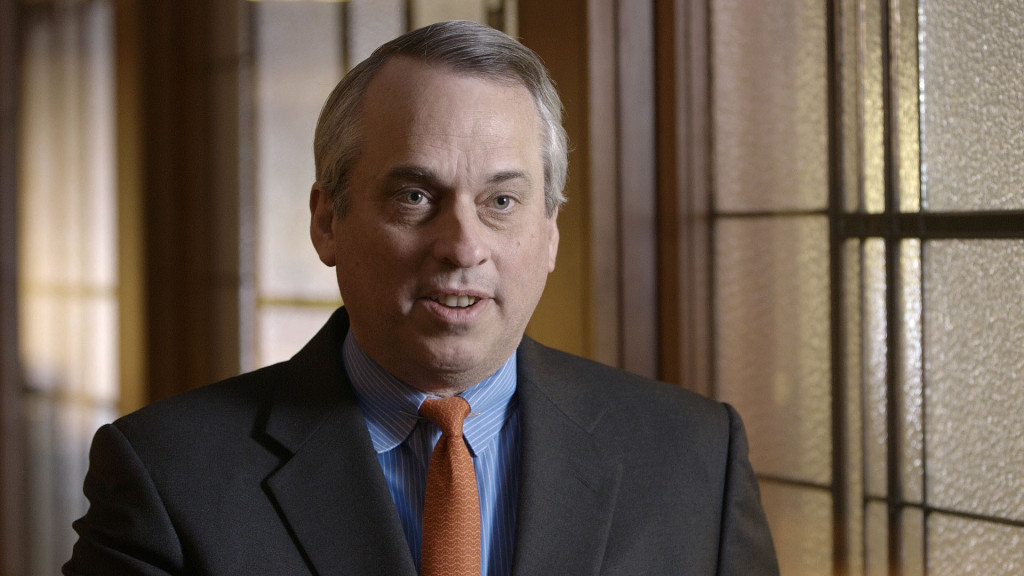
The next two images are stills from the final graded interview. Following those are a series of shots with lights being turned off so you can see what each set of lights is doing. My friend, Ryan, stood in for the interviewee after he left.
Practical hallway lights only (camera white balance set to 5600K).
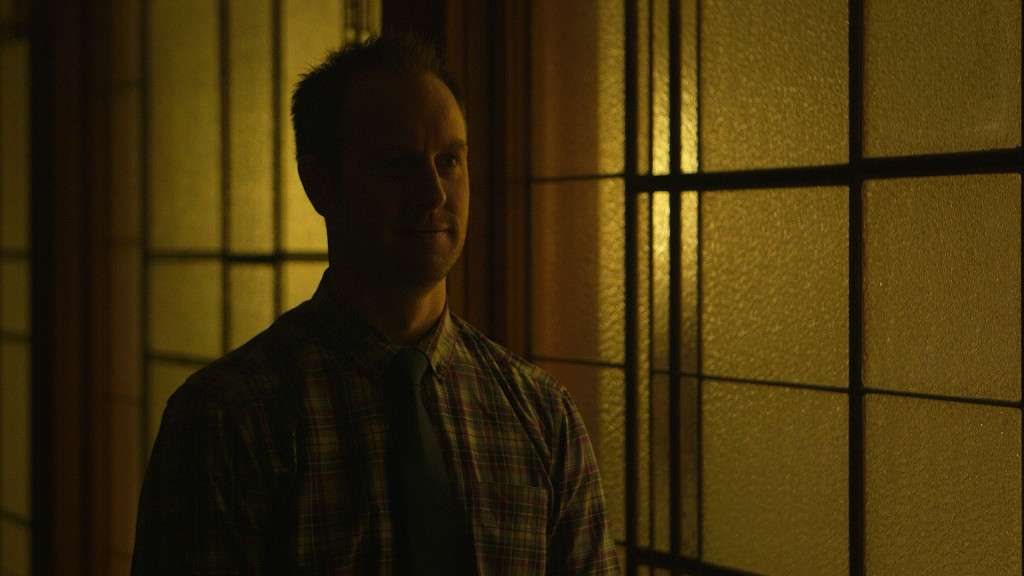
One 1×1 LED light panel (5600K) in hallway, diffused through the glass, maximum output on dimmer. This is what I used to set my ISO at to set my exposure since I knew needed to be wide open (f/2.8) and with a fixed shutter angle of 180º. I landed on ISO 1600.
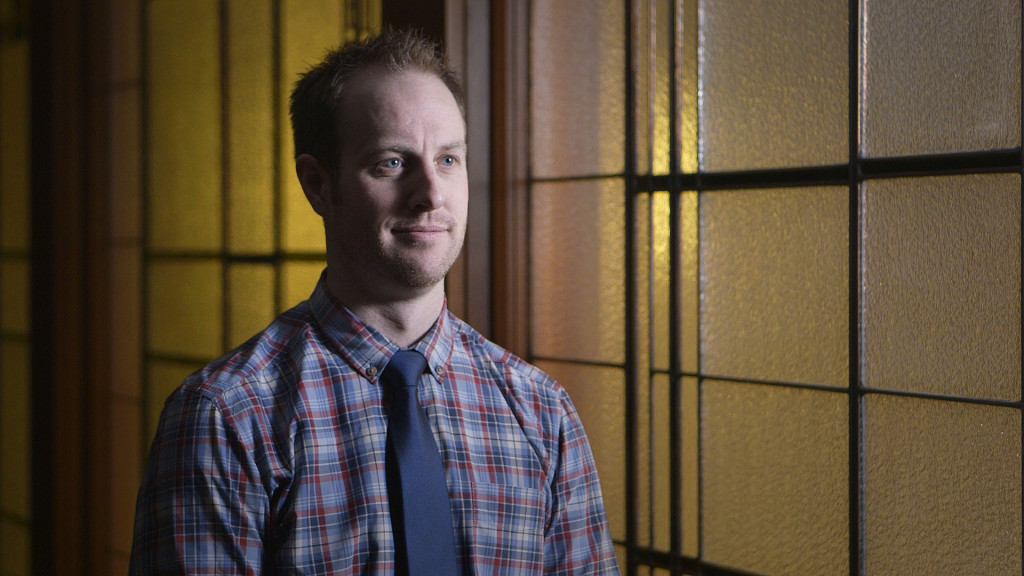
The other 1×1 LED light panel (5600K) down hallway, pointing directly at camera, dimmed to taste.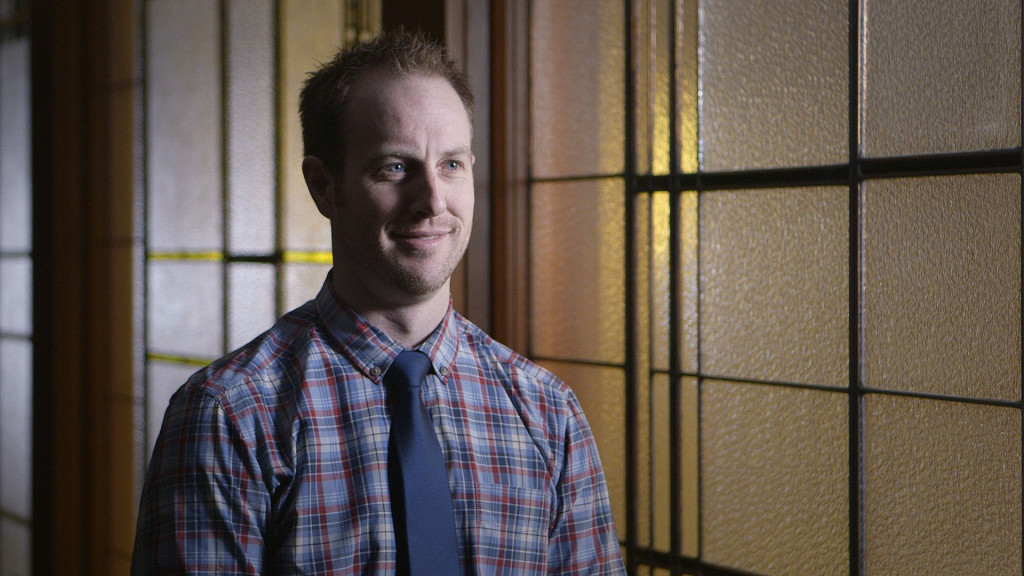
Conference room practicals dimmed up just enough to give a little fill without contaminating the scene with too much yucky tungsten orange. It was a fine line to not cross. Some of the warmth was timed out in post.
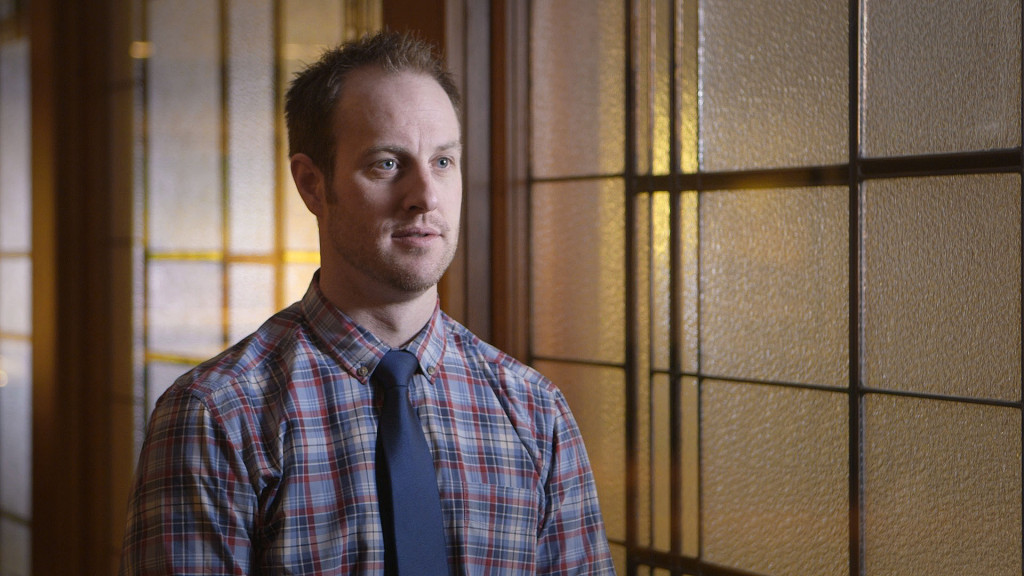
While I’m lighting, I’m also taking into account background framing, placement of the interviewee against the background, and separation between the two. Especially because I only had two lights to work with, proper placement, composition, and “checker-boarding” as much as possible was vital.
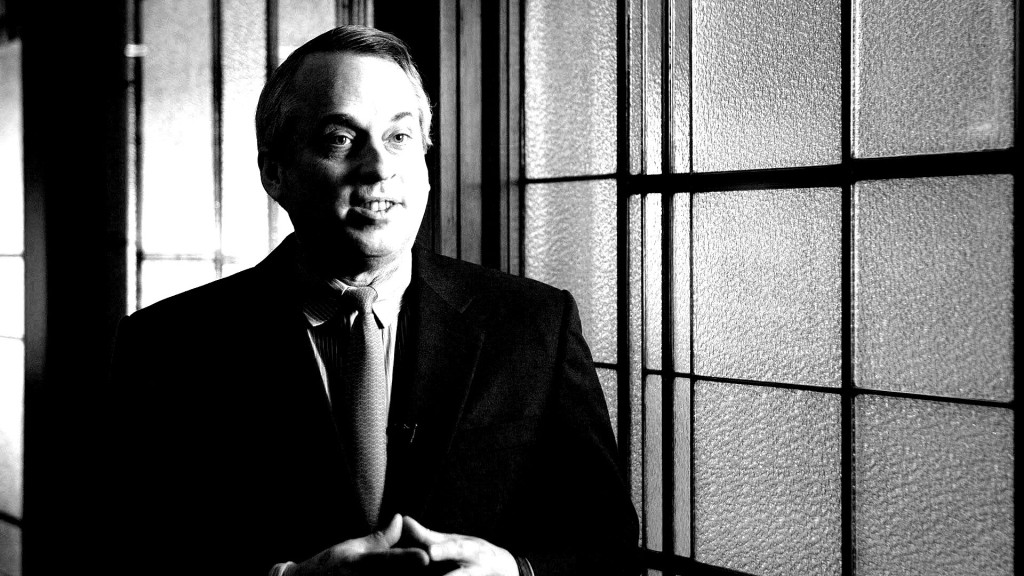
In order to create separation from the background, and also, just a naturally pretty shot, “checker-boarding” is a classic technique I use whenever possible. Notice how dark sections of the background are juxtaposed directly against lighter parts of the foreground — in this case, the interviewee.
What this does is it creates lines of contrast that essentially “cut out” the subject from the background as well as creating visual interest. Most of the time, the easiest way to create separation from the background is with the use of a backlight. I didn’t have the luxury in this scenario, so I went with this approach. I made sure that the subject was standing in a spot where the light side of his face was against the darker window pane and that the back side of his head was always against the lit-up glass. If he drifted, I made sure to put him back in place. With this contrasty black and white image, you can see how a light on the bottom half of the rear window pane would have been nice to create a line for the left side of his body, but, oh well.
Feel free to comment below with any of your own tips and tricks with similar scenarios or with any cool or funny stories you may have had.
I hope you found this interesting. Now, forget all of this and let me shoot your next interview ;)
Camera: Canon C100 |Â Lenses: Canon 70-200mm for the CU, Canon 85mm for the Med.

