First off: I just want to say that, with this post, I have now exceeded my posting average of one per year for the last few years. It’s not that I haven’t been working — that’s for sure! When I started this blog, I had three little kids. I now have six… so I hope that explains a lot.
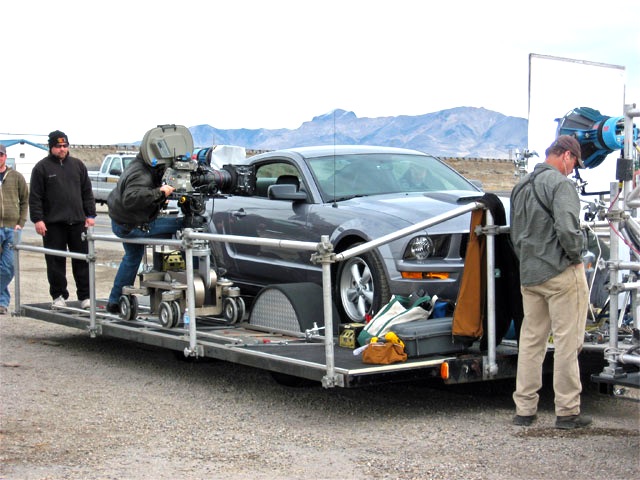
Over the last two days, I was shooting a series of driver safety videos for AARP which consisted of mostly driving shots. As much as I wanted to shoot the driving scenes with a process trailer like the one pictured (photo courtesy of GripToyz), we had to keep it lower profile because we would be driving in various situations that prohibited it so we ended up shooting off the back of an insert car while towing the picture cars.
The obvious disadvantage of this is that we are only able to get a front view of the car while driving and the distance adds some additional limitations. But it worked out well enough. For our first setup, which is pictured above, we tried out a bungee-type system of suspending the camera to absorb the shocks and vibrations. It worked out okay, but it required much too much effort to operate so we ended up ditching it for the obvious for the subsequent setups: a tripod. That method quickly proved to be way better by providing much more control and stability.
With this shooting setup, there wasn’t much we could do for lighting other than sticking a light as far to the side of the truck as possible. Here we are using an Arri M18 HMI unit. It provided enough light to see the driver but we probably could have used twice as much light.
For any side shots, we had the option of a hostess tray but time didn’t permit us to set that up so we had to shoot from the passenger seat. I probably should have gotten a photo of that setup, but I didn’t. Basically, for any shots inside the cars, whether it was from the side or shooting forward from the backseat, we just set the camera on a full apple box and furni-pad and I operated that way. For the side shots of the drivers, the apple box and camera sat in the front seat while I operated from the back seat.
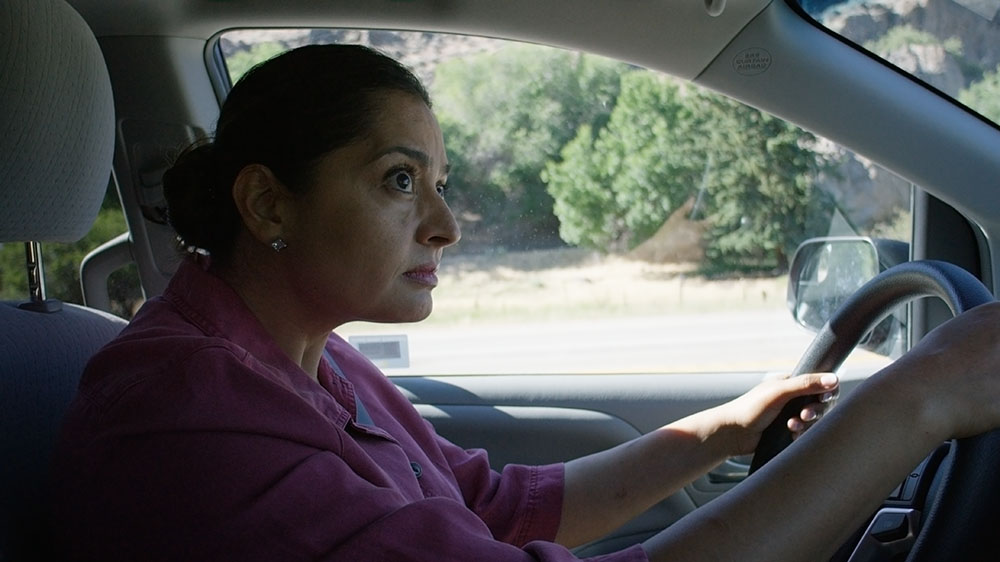
Because I knew that we would be shooting a lot from the inside of cars with minimal resources for lighting and time, the Red Dragon camera seemed to be our best bet because of it’s ridiculous 16 stop latitude. I had a C100 on hand and should have busted it out to compare how it would have handled the same situations but I only thought of that just now while writing this post. Here is a frame grab of one of the shots inside the car looking out. The exterior is overexposed a bit, as it should, but nothing looses detail and the exposure on the face from just the ambient light outside is enough for good exposure. Not bad, Dragon. Not bad.
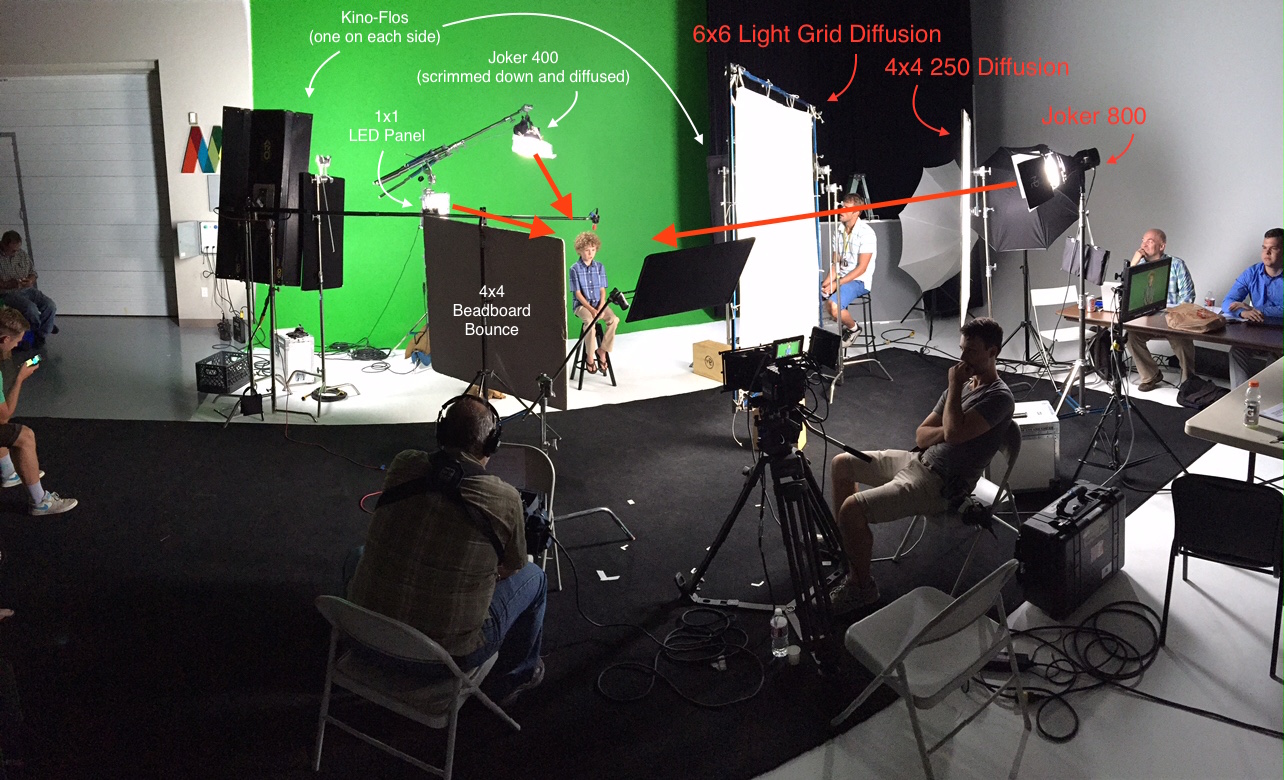
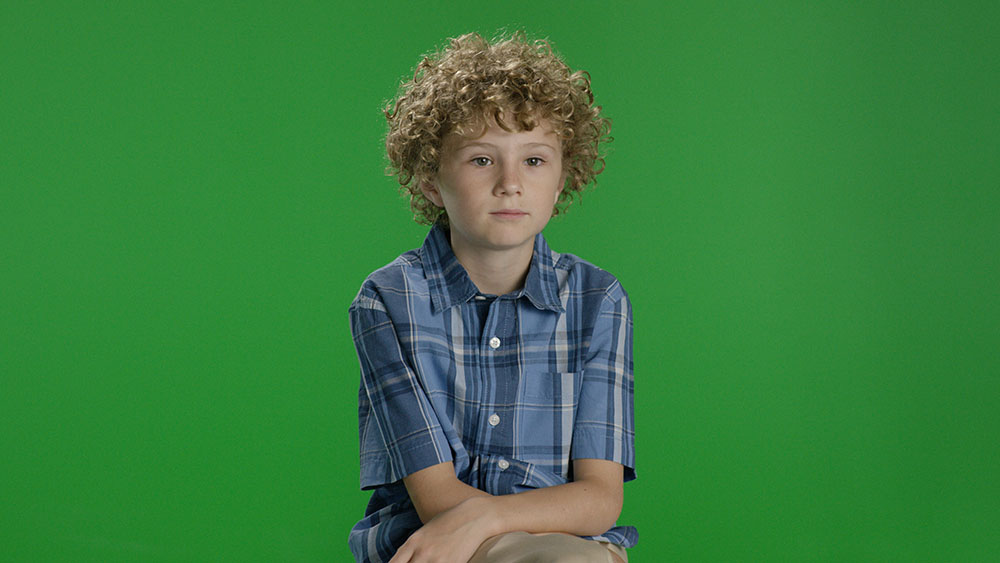
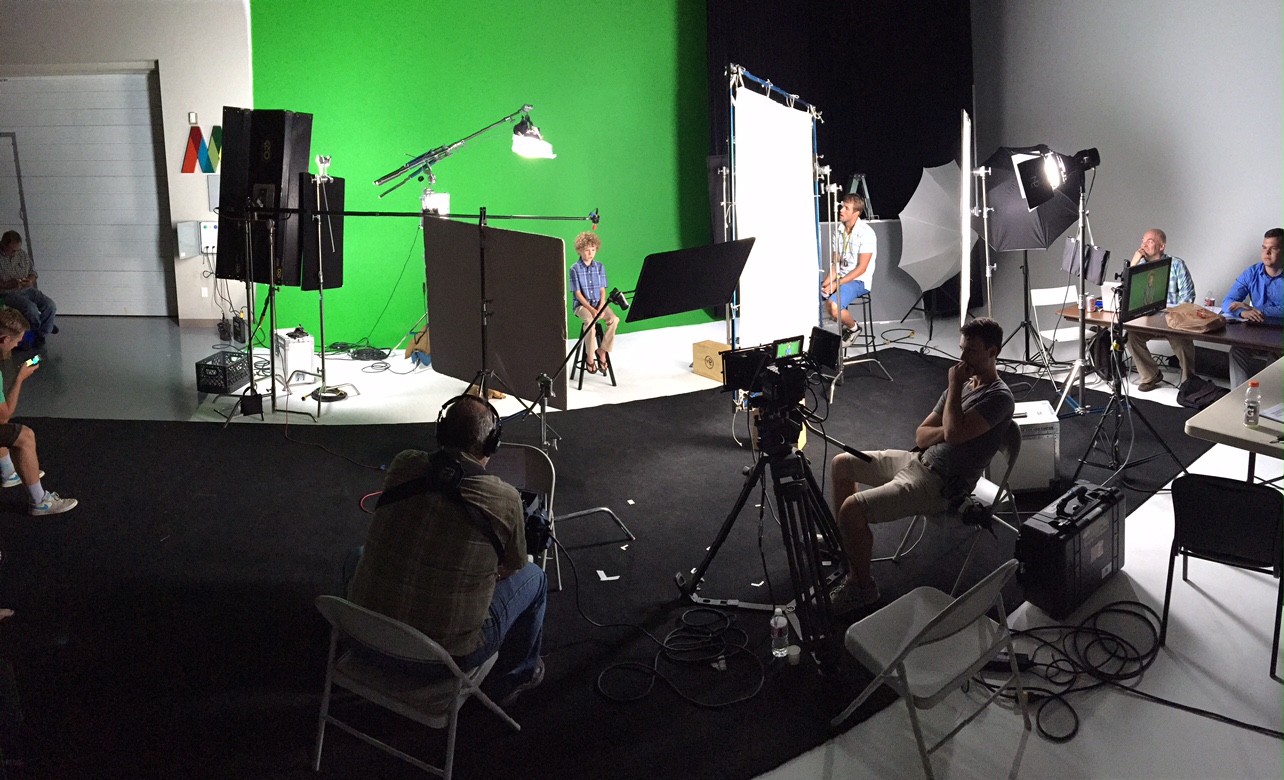
We also had a green screen shoot as part of this project. It always amazes me at how easy it is to light green screens these days with these new-fangled digital cameras. Back in the film days we would have to be so careful about getting even lighting on the green, but now it seems like (and is like) all you gotta do is slap a Kino-Flo on each side of the frame at the right exposure and then light your subject. Whether or not it’s that easy, it sure seems like it. Here is a picture of our simple, standard-issue setup:
If you have any questions, comments, or complaints, feel free to make them below. Thanks for reading!